Let us fetch your data.
No installation needed.
It just works if you're using one of the cloud databases such as Amazon RDS as they allow remote access by default.
If you have your own custom servers, we'll guide you through firewall settings.
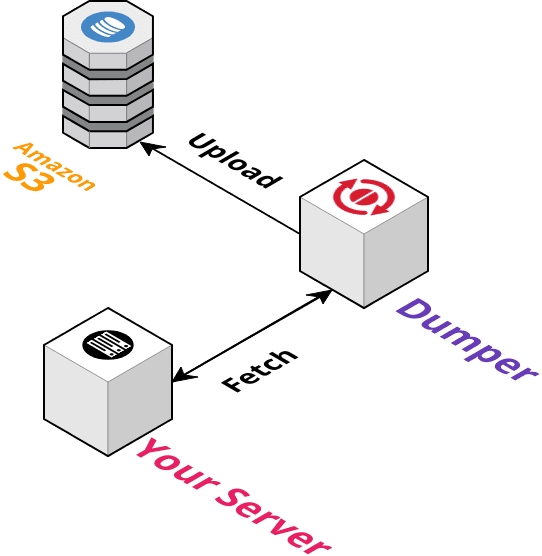
Once a day, we remotely connect to your production database and take a backup using rock-solid utilities like mysqldump, pg_dump, mongodump, or redis-cli.
Here's a quick look at the setup process
With this setup, you will register your server's host and port, so that we can directly connect to your server, fetch the data and make a dump for you. You don't need to install anything on your server, but you do need to open up your firewall to let our servers in to do the job. We provide instructions below.
Start from this page.
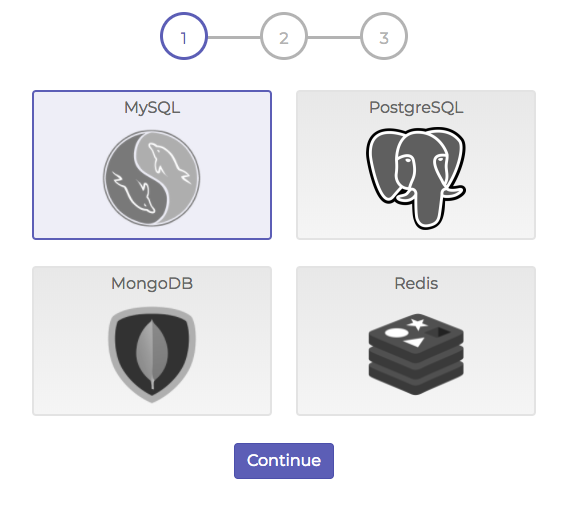
Step 1: Type
First, choose a database type.
Step 2: Connectivity
Next, we check basic TCP connectivity from our servers to your server.
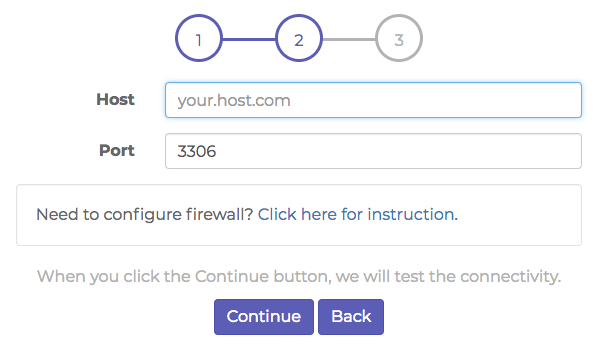
If you're using one of the cloud databases such as Amazon RDS, Heroku Postgres or mLab etc., it just works as they allow remote access by default — just type in host and port.
If you have your own custom servers, we'll guide you how to setup ufw or iptables to open up a throttled TCP port for our fetch agents. Click and read the instruction in detail.
Step 3: Credentials and Database
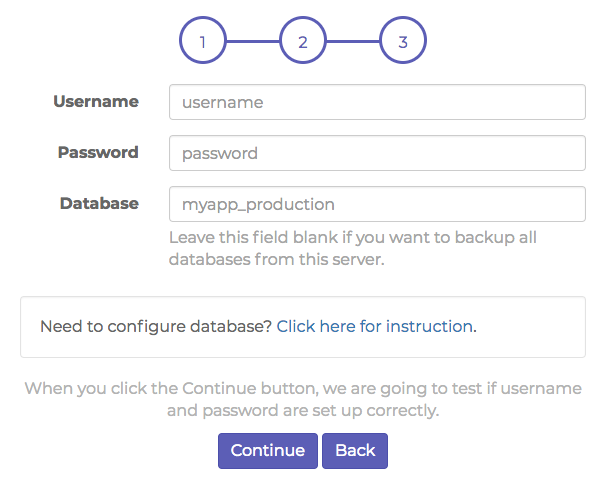
Next, enter a database user and password. We use this user to login and take backups of your database. If possible, read-only users are preferred.
Finally you enter the database name you want to backup.
Take the first backup
Now we are ready to run a backup. You'll be able to take a manual backup anytime you want. Let's try this now.
Go to the database that you've just registered, and you'll be navigated to the following page.
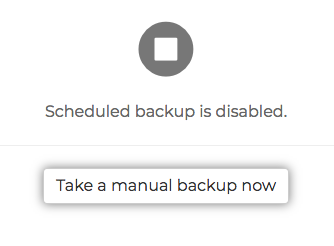
Press the Take a manual backup now button.
It will take a few minutes to start a backup job from Dumper. Wait for a while, and hit the reload button on the browser.

When you see this, your first backup is done and successfully uploaded to Amazon S3.
Good! Now let's try restoration - go ahead and press the Available link.
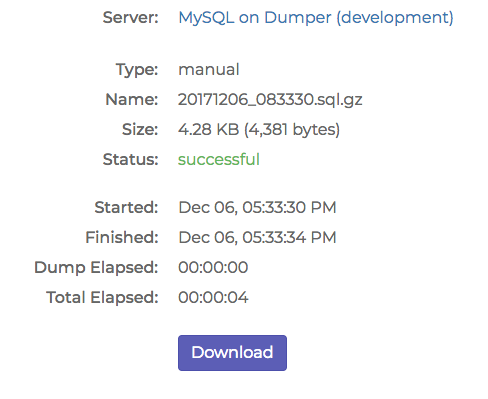
and click the Download button. Now you will get the .gz file.
Decompress the .gz file and run the following command on terminal.
# MySQL
mysql -u [user] [my_database] < xxxx.sql

# PostgreSQL
psql -U [user] -d [my_database] -f xxxx.sql
Activate automated daily backup
As the final step, activate the automatic backup for production.
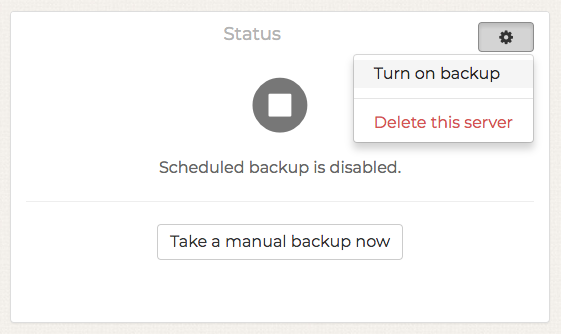

Once activated, your server will start taking backups every day, starting tomorrow.
Having trouble?
If you have a problem in any of these steps, shoot us an email at any time. We'll be happy to answer any questions!